Installing CCTV cameras can effectively improve security for homes and businesses. They help monitor activities, ensuring potential criminal activities are recorded. CCTV cameras deter theft by making properties less inviting to criminals.
Enhancing security is the main reason for installing CCTV in homes and businesses. Cameras are vital in monitoring daily operations without needing constant physical presence. Recording incidents provides evidence, making it easier to solve disputes. Ensuring safety contributes to peace of mind for property owners and their families.
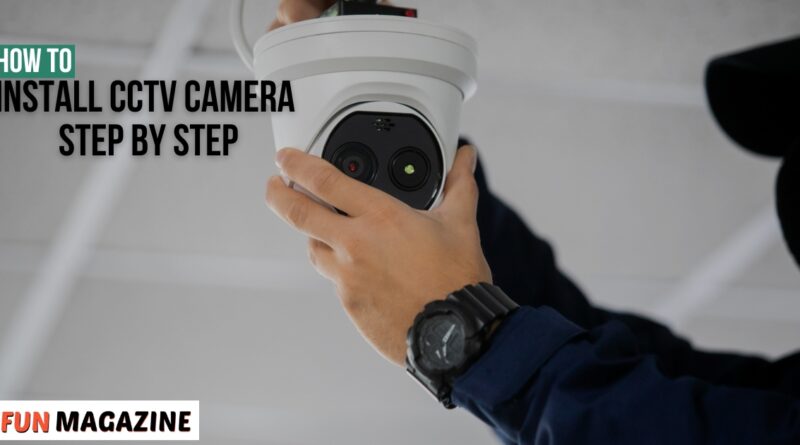
In this post we will learn in detail about How to Install CCTV Camera Step by Step.
This article will guide you through the step-by-step process of CCTV installation. You’ll learn the basics needed for setting up a security system efficiently. We aim to simplify the process, ensuring even beginners can follow easily. The guide covers crucial steps, providing a hassle-free security setup experience.
Why Install CCTV Cameras?
CCTV cameras are essential for monitoring activities and effectively deterring criminal behavior. They protect valuable assets by capturing and storing critical visual information. By installing home security cameras, you enhance the safety of homes, businesses, and industrial facilities. Such installations act as visual deterrents, reducing the likelihood of theft and vandalism.
Cameras provide evidence that supports law enforcement in solving crimes efficiently. They help resolve disputes by offering clear visual records of incidents. With cameras, you achieve peace of mind knowing your property is secure. Let’s dive into a straightforward, beginner-friendly, step-by-step CCTV installation tutorial.
Tools and Equipment Required
Specific tools and equipment are essential to successfully installing a CCTV system.
CCTV Kit Components
- Cameras: Choose between wired or wireless cameras based on your needs.
- DVR/NVR: Store footage using a Digital or Network Video Recorder.
- Power Supply and Adapters: Ensure your cameras receive a consistent power supply.
- Hard Drive for Storage: Install this if your system requires video footage storage.
Installation Tools
- Drill Machine and Screws: Use these to mount camera brackets and other components securely.
- Cable Ties and Clips: Keep all cables organized and secure during and after installation.
- Ethernet Cables: These are required for wired systems to connect cameras to the DVR/NVR.
- Ladder and Measuring Tape: Use to position and install cameras accurately.
Additional Tools
- Ladder: Reach high places when mounting cameras or running cable.
- Power Drill: Essential for mounting camera setups onto various surfaces.
- Drill Bits: Use masonry bits when drilling into concrete or brick surfaces.
- Electric Screwdriver: Quickly fasten screws for secure installations.
- BNC Crimp Tool: For connecting cables to BNC connectors professionally.
- Cable Stripper and Cutter: Prepare cables by removing insulation when needed.
- Pliers and Hammer: Assist with various tasks, like gripping and driving nails.
- Safety Goggles, Helmet, and Boots: Protect yourself during installation.
- Tape and Labels: Organize and label cables for easier maintenance.
Software and Mobile Applications
- Compatible Apps: Use apps to monitor and manage your CCTV system remotely.
- Network Test Tool: Ensure connections work correctly within the system for optimal performance.
- Video Test Monitor: Use to fine-tune the camera angles during installation.
Always use the right tools and equipment for a successful and safe CCTV installation.
Step-by-Step Guide to Install CCTV Cameras

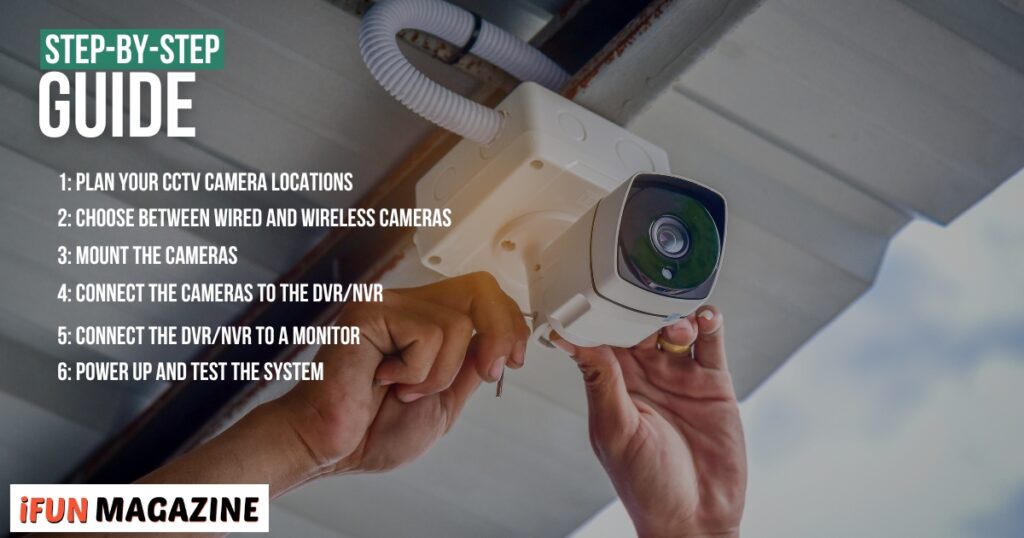
1: Plan Your CCTV Camera Locations
Determine where surveillance is needed to cover high-traffic or vulnerable areas. Common placements include entry points, garages, lobbies, and reception areas. Planning helps cover areas efficiently and improves security coverage.
2: Choose Between Wired and Wireless Cameras
Select the camera type that suits your ease of installation and security requirements. Wireless cameras are straightforward for beginners because they require less cabling, while wired cameras are reliable for continuous coverage in demanding environments.
3: Mount the Cameras
Use mounting brackets to attach cameras securely to walls or ceilings. For optimal surveillance coverage, ensure a clear, unobstructed view. Adjust camera angles to ensure each area is comprehensively covered.
4: Connect the Cameras to the DVR/NVR
For wired systems, use Ethernet cables to connect cameras to the DVR or NVR. Follow Wi-Fi network connection procedures for wireless cameras, checking the manufacturer’s instructions. Ensure a stable connection for consistent recordings.
5: Connect the DVR/NVR to a Monitor
Connect your DVR or NVR to a monitor or TV using HDMI or VGA cables. This setup allows you to view live feeds and access recorded footage. Proper connections also allow you to monitor your camera system easily.
6: Power Up and Test the System
Plugging in or checking batteries will ensure all cameras have a power supply. The system should be tested to capture and display video consistently. Adjust camera settings or angles as necessary for the best coverage.
- Setting Up the Hardware
Mount the Cameras
- Mark positions on walls or ceilings for the cameras using a pencil.
- Use a drill to fix camera brackets securely onto the marked positions.
- Attach the camera to the bracket and adjust its angle as needed.
Install the DVR/NVR
- Place the DVR/NVR in a secure and accessible location at home or in the office.
- Connect the hard drive to the DVR/NVR if your system requires storage.
Lay the Cables (for Wired Systems)
- Route cables neatly using clips and ties to avoid clutter.
- Connect camera cables directly to the DVR/NVR for consistent video recording.
Configure the Power Supply
- Plug cameras into a power source using suitable power adapters.
- Ensure a stable power supply to all devices for effective operation.
Configuring the System
Connecting to Monitors or Screens
- Connect the DVR/NVR to a monitor using an HDMI or VGA cable.
- Ensure the connection is secure and the screen displays the camera feeds clearly.
Network Configuration (For Remote Access)
- Attach the DVR/NVR to your router using reliable Ethernet cables for internet access.
- Assign a unique IP address to the system for network identification and access.
Software Installation
- Download and install the recommended software or mobile app from the manufacturer’s website.
- Link the cameras to the software or app following the provided instructions for pairing.
Test the System
- Review all camera feeds on the monitor or through the mobile app interface.
- If necessary, adjust camera angles and coverage to improve security and visibility.
Fine-Tuning and Maintenance
Optimize Camera Angles
Ensure each camera covers all critical areas completely without obstructions blocking the view. Adjust and rotate cameras to achieve the best possible angle for every surveillance spot.
Set Up Alerts and Motion Detection
To stay informed, activate notifications for any suspicious movements captured by the cameras. Program motion detection settings will alert you immediately when unusual activity is detected.
Routine Maintenance Tips
Wipe camera lenses gently with a soft cloth to keep video quality clear and sharp. Inspect power sources and check connection cables regularly to prevent unexpected outages.
Safety Precautions During Installation

Avoid placing cameras where they infringe on others’ privacy rights or private areas. Use proper safety gear, like helmets and gloves, when using ladders or tools. Ensure wiring is safe and secure to prevent any potentially dangerous accidents. Position ladders on stable ground to avoid slipping or causing unwanted injury. Have a helper nearby when using ladders for extra safety support.
Wear non-slip shoes to maintain a firm grip when climbing ladders. Secure cables neatly to prevent tripping and tangling during and after installation. Check all tools before use for any flaws or damages that could cause harm. Be mindful of weather conditions if installing cameras outdoors to avoid risks. Review privacy laws thoroughly to comply with legal requirements for camera placements.
Troubleshooting Common Issues
No Camera Feed
- Check the camera connections to make sure they are secure and tight.
- Verify the power supply to ensure that all cameras are plugged in correctly.
- Confirm that all switches on the camera and system are turned in the correct position.
Poor Video Quality
- Adjust the camera focus manually to improve the clarity of the video feed.
- Change the camera’s position slightly to eliminate any factors causing blurriness.
- Verify the lighting around the camera for sound video recording without shadows.
Interference or Signal Loss (Wireless Systems)
- Check the Wi-Fi signal strength to ensure robust and uninterrupted connectivity.
- Reduce the distance between your wireless cameras and the primary router.
- Limit other devices using the Wi-Fi to reduce possible interference.
Conclusion
Begin by reading the manufacturer’s guidelines for your security camera system. Carefully mount your cameras in strategic locations for the best area coverage. Connect each camera properly to the DVR or NVR for a stable connection. Ensure that you attach all monitors correctly for precise and consistent live feeds. Test your system thoroughly to guarantee adequate video coverage for all needed areas.
Installing security cameras involves mounting equipment and connecting devices for optimal use. Carefully configure network and power settings to complete the system setup correctly. Test the system continuously to ensure it operates optimally and meets security needs.
FAQs
What are the steps to install a CCTV camera?
Mount the camera in a secure spot. Connect it to the DVR/NVR. Ensure a power supply. Set up the network and software. Test the system thoroughly. Adjust camera angles as needed. Follow the manufacturer’s guidelines for best results.
How to connect a CCTV camera to a mobile phone?
Download the camera manufacturer’s app to your smartphone. Connect the DVR/NVR to the internet using Ethernet. Pair your phone app with your camera system using Wi-Fi. Follow the app’s instructions for setup. Enjoy remote access to camera feeds.
How to install a camera at home?
Choose strategic locations for the camera, mount it securely to avoid falling, connect it to the DVR/NVR, ensure a consistent power supply, test the setup for explicit feeds, and ensure the equipment functions correctly before finishing.
How do you configure CCTV DVR settings?
Access the DVR settings through the monitor. Set a unique IP for your system. Adjust recording settings based on your preference. Test the setup for reliable performance. Follow manufacturer instructions for optimal settings. Ensure settings meet your security needs.


